Find the socket
Identify the car’s OBD2 port and note whether it is open beneath the dashboard or positioned behind an access cover. The exact layout depends on the make, model and year.
Fuel Saver is a compact accessory made to plug directly into a compatible OBD2 socket. This UK overview covers fitting, the practical 240 km setup period, sensible fuel tracking and the current one, two and three-device packs.
The product
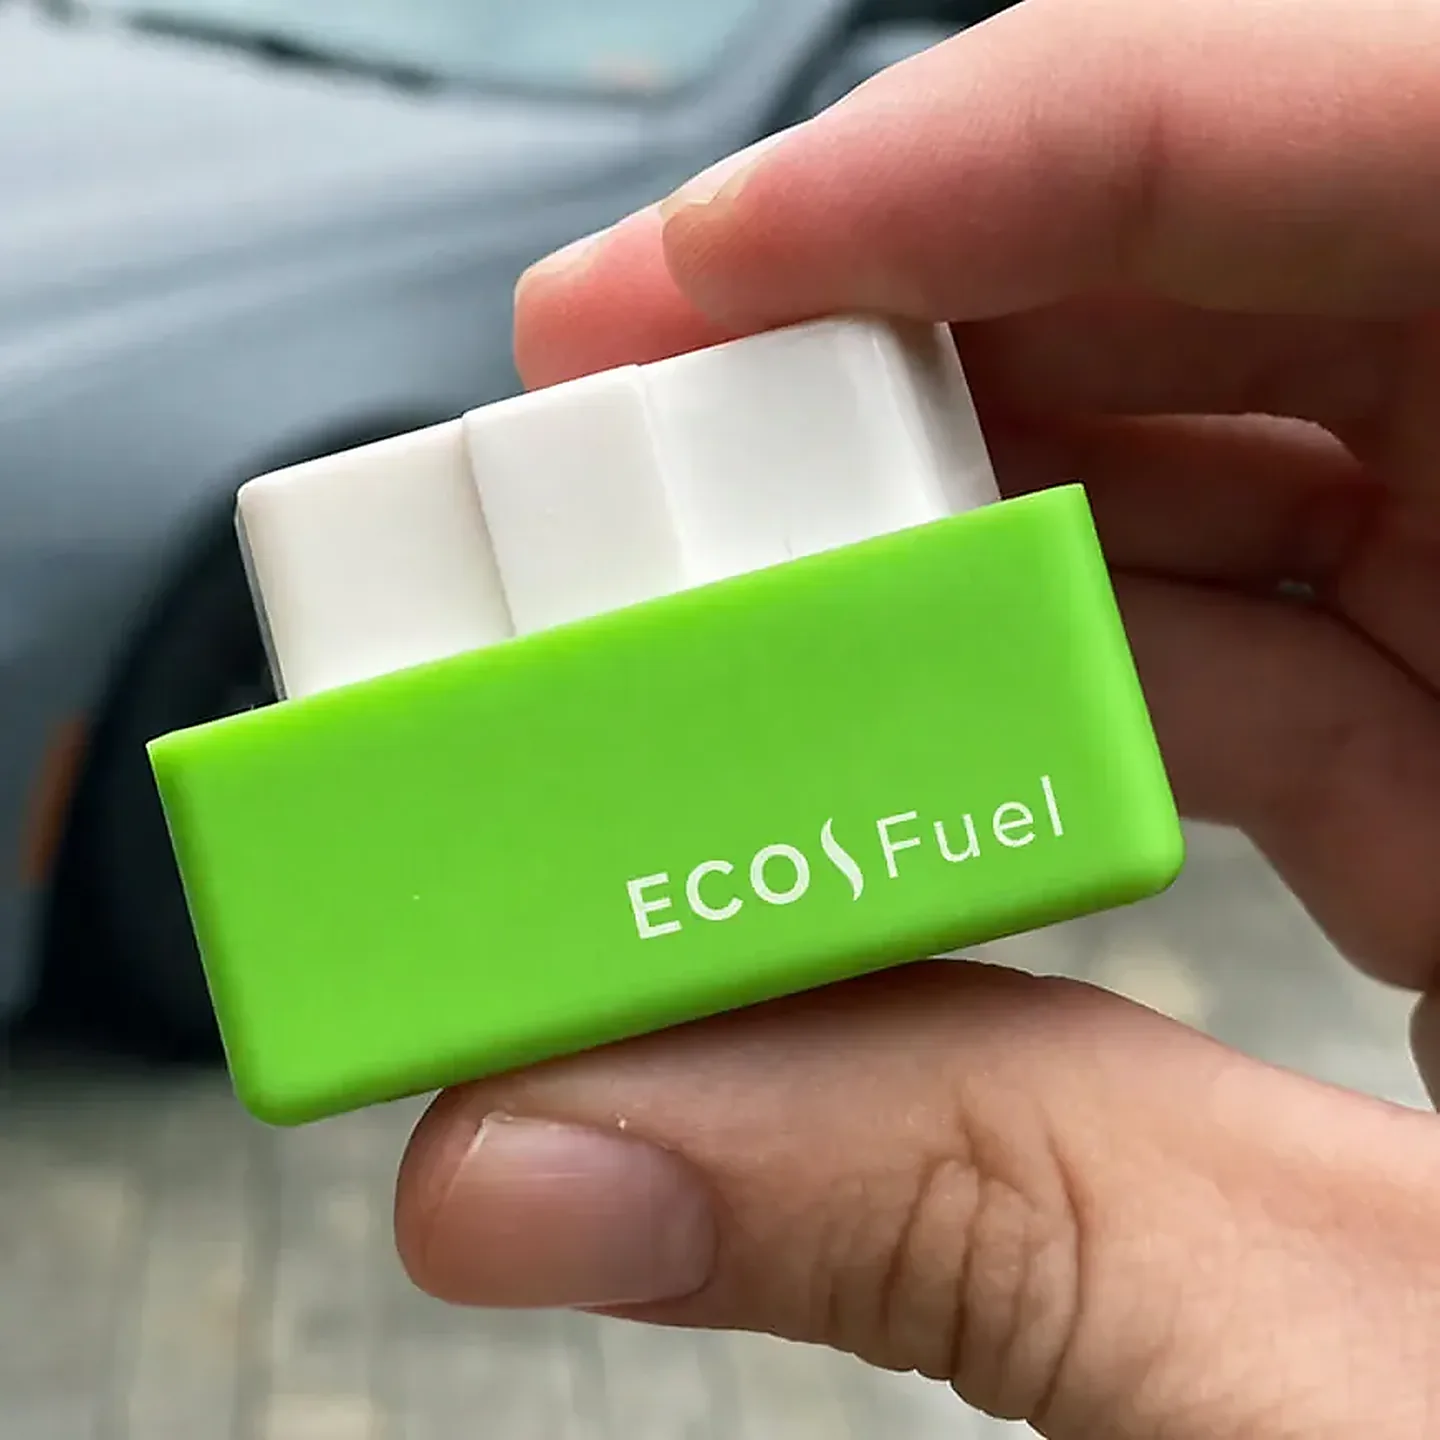
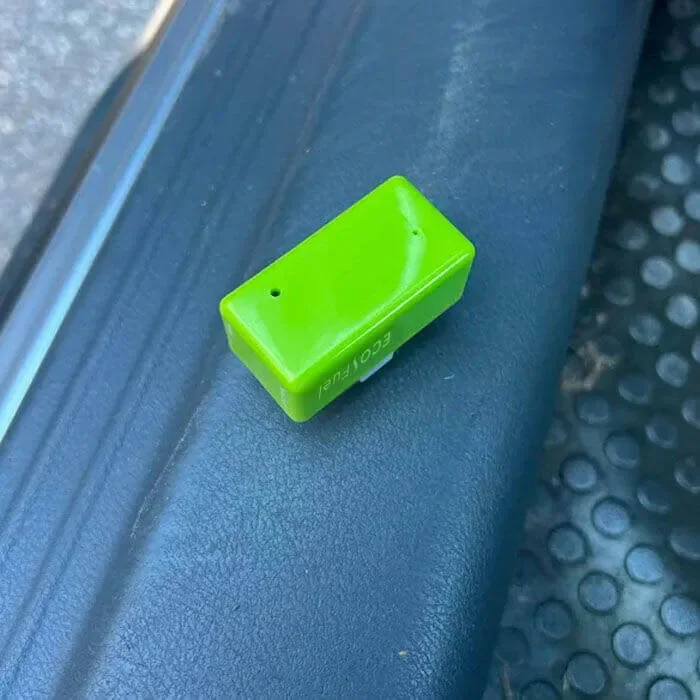
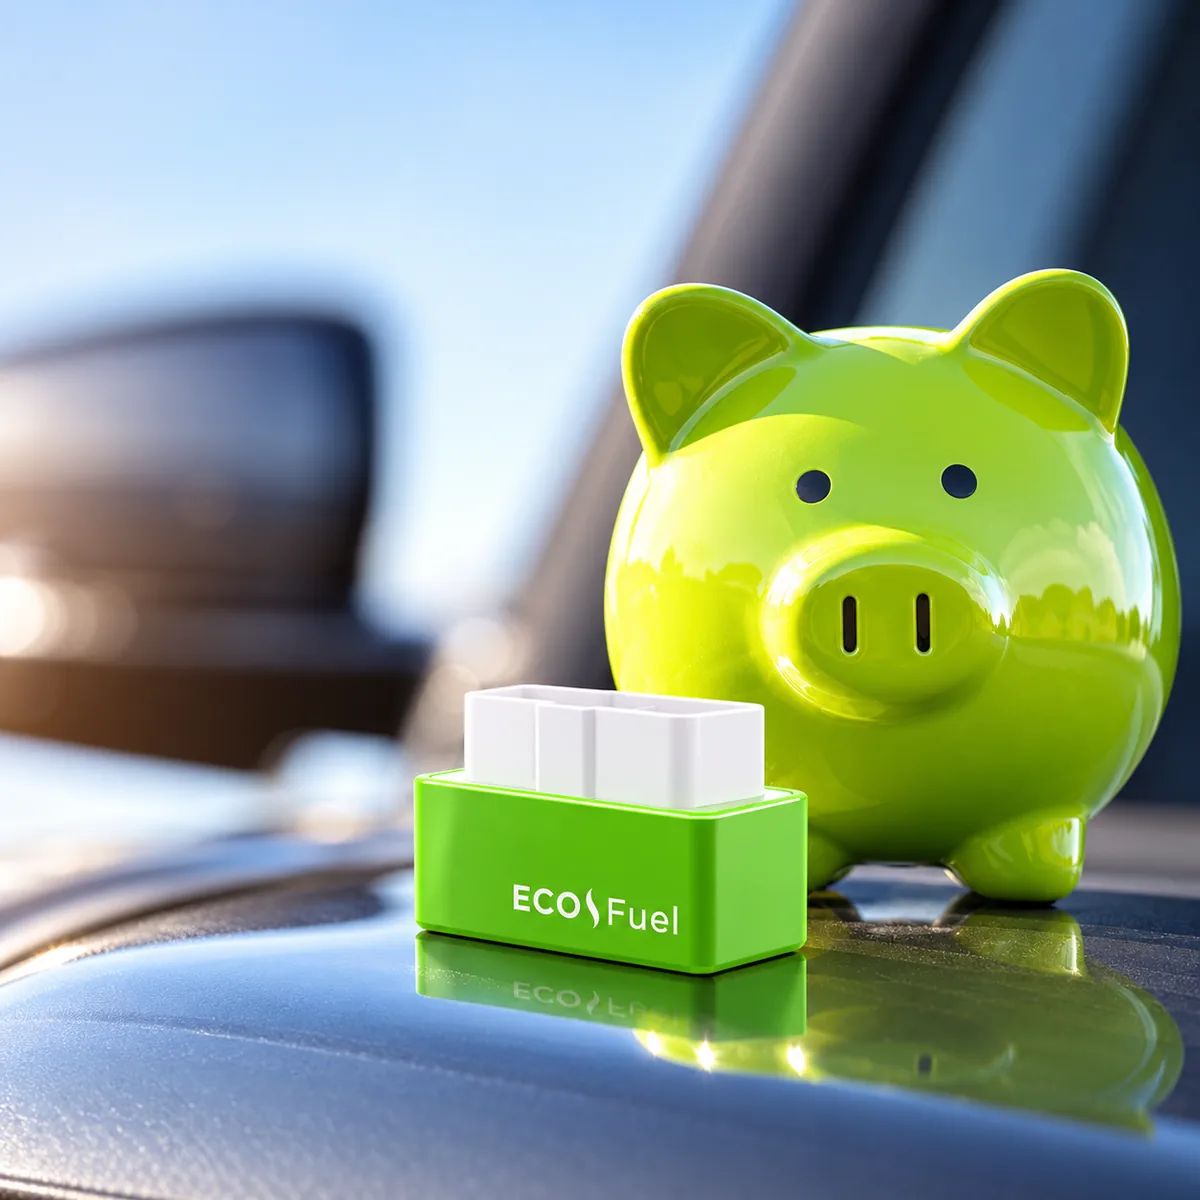
Fuel Saver is a small plug-in car accessory designed for a suitable OBD2 diagnostic socket.
The compact housing combines the connector and electronics in one removable unit, so no permanent wiring or workshop installation is part of the setup. Its direct plug-in format also makes the accessory easy to transfer between compatible vehicles when each car has its own fuel record.
The product information describes a settling period of about 240 km after installation. Rather than judging a single dashboard reading, use that distance to establish a consistent routine and compare several complete fuel fills on similar journeys.
OBD2 is the diagnostic interface found on many modern cars, although port location and access vary by make, model and year. Identifying the connection before ordering helps match the accessory to the intended car and gives you a clear starting point for the first dated mileage entry.
The removable format suits a measured trial: note which vehicle receives the unit, keep its fill history separate and use the same calculation throughout the review period. For two- or three-device packs, create one record per car rather than combining household mileage. That keeps each baseline, route mix and cost-per-mile figure attributable to the correct vehicle.
Three practical steps
Set up the device and the fuel log together so the first 240 km has a clear starting point.
Identify the car’s OBD2 port and note whether it is open beneath the dashboard or positioned behind an access cover. The exact layout depends on the make, model and year.
Switch the engine off, align the plug with the port and seat the unit. Note the fitting date and odometer reading, then keep those details with the first fuel receipt.
Drive normally through the stated period of about 240 km. Record complete fills, comparable routes and conditions so the before-and-after entries remain useful.
Compatibility first
Fuel Saver is intended for a compatible OBD2 diagnostic interface. Because manufacturers place that interface in different dashboard areas, record the vehicle make, model and year alongside the port location before choosing which car will use each device.
The first fitting is also a useful time to note practical details: whether the port sits behind a removable cover, how visible the device indicator remains and how easily the unit can be reached later. Those notes make repeat checks and multi-car records simpler.
Use the same vehicle description in the order record and fuel worksheet. A short entry such as registration, model year, usual driver and journey type is enough to distinguish one car from another. If the unit is later moved to a second compatible vehicle, start a new dated baseline instead of carrying the earlier car’s averages into the comparison.
Keep that brief vehicle note beside every complete-fill entry during the stated period. It provides useful context when two cars cover similar mileage but differ in route, load, fuel grade or usual driver.
Measure consistently
Start at a normal complete fill. Note the odometer, litres added, pump price and the main journey type. Reset the trip counter, use the same fuel grade and record the next complete fill at a similar level. Two or three entries are more informative than a single trip.
For UK miles per gallon, divide miles travelled by litres used and multiply by 4.54609. For litres per 100 km, divide litres used by kilometres travelled and multiply by 100. A higher mpg number is better; a lower litres/100 km number is better.
Separate motorway, urban and mixed journeys. Traffic, cold starts, passengers, luggage, air conditioning, weather and tyre pressures all affect consumption. Comparing similar trips over four to six fills gives the clearest everyday picture.
Cost per mile adds another useful measure. Multiply litres by the pump price, convert the total to pence and divide by miles travelled. This keeps fuel use separate from changes in forecourt prices.
Buy now at 60% off
Worked example
Use the same calculation after each comparable fill and look at the pattern, not one isolated number.
The mpg calculation is 350 ÷ 35 × 4.54609. If fuel costs £1.45 per litre, the fill costs £50.75 and the journey cost is 14.5 pence per mile. These figures demonstrate the worksheet method; they are not a prediction for a particular car.
Keep dates, mileage and receipts together. Note servicing, warning lights and tyre-pressure checks because ordinary maintenance and driving style remain important. Smooth acceleration, reading traffic ahead, removing unused weight and avoiding unnecessary idling also help make repeated journeys more consistent.

Everyday routine
Choose one repeatable journey and keep the routine simple. A regular commute, weekly motorway run or familiar school route can provide a steadier comparison than a mixture of unrelated trips. Fill at the same station when practical, stop the pump in the same way and record the trip meter before resetting it. Small habits like these reduce noise in the figures.
Write down anything unusual beside each entry. Long queues, roadworks, a roof box, extra passengers or a cold week can all change the amount of fuel used. The same applies to tyre pressure and maintenance. A warning light, overdue service or dragging brake deserves attention in its own right; the accessory is not a substitute for keeping the car in sound condition.
During the stated 240 km period, avoid changing several variables at once. If you fit the device, change tyres and switch to a different route in the same week, the log becomes harder to interpret. Keep normal driving habits, then review the average across multiple fills rather than selecting the best single result.
For a household with more than one car, keep a separate page for each registration and note the usual driver. This makes the two- and three-device packs easier to use methodically. Each vehicle gets its own baseline, socket check and record, with no confusion between mileage or pump receipts.
Store the order details, packaging and dated log together. The purchase journey shows a 60-day money-back period, so organised records make it easier to review the accessory within that window. A calm, repeatable process gives you a clearer answer than relying on a dashboard estimate after a short trip.
Editorial test
8.2out of 10Based on fitting clarity, day-to-day convenience, measurement guidance and buying terms.
The compact plug-in format is easy to understand and the installation can be reversed. When the socket is well positioned, the unit can sit out of the way beneath the dashboard. The stated 240 km period also encourages a measured approach rather than a quick conclusion after one journey. The device is most useful when the owner treats the fitting and measurement as one simple routine: check the port, keep the installation clear, record complete fills and review a group of comparable journeys.
The strongest evaluation method is a written fuel log using full fills and comparable routes. That produces useful mpg, litres/100 km and cost-per-mile records while accounting for traffic and weather. The pack structure is equally clear: one device for one car, two for a two-car household and three for the largest displayed discount.
Compact size, direct OBD2 fitting, no permanent wiring, simple pack choices and a displayed 60-day money-back period.
Socket position differs between cars, compatibility needs checking and a meaningful comparison requires several complete fills.
Current packs
The current purchase path lists the packs in US dollars. The three-device pack carries the largest displayed discount: 60%.
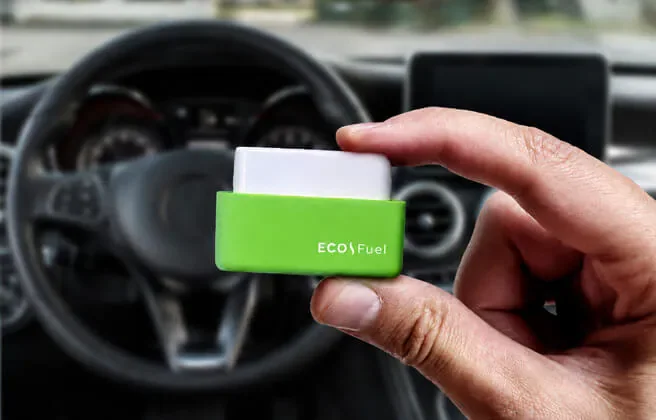
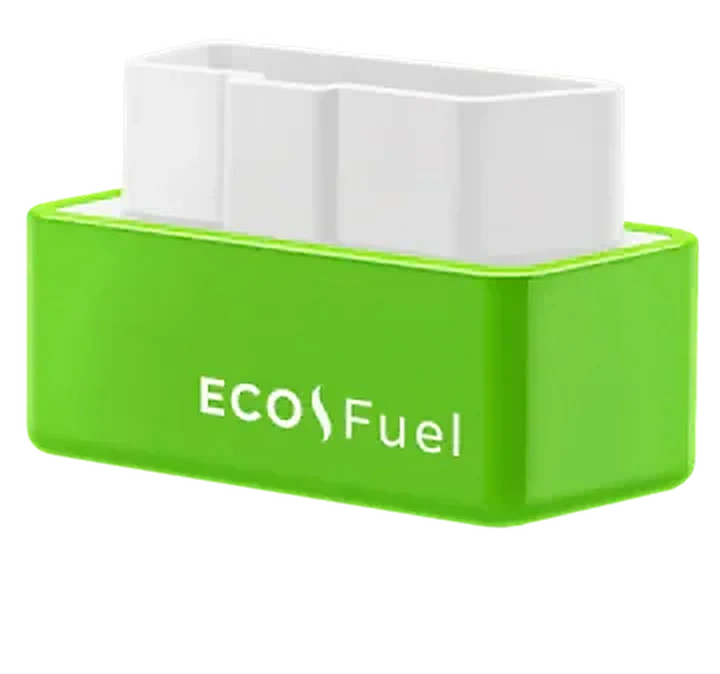
Choose by the number of vehicles or drivers you are buying for. Keep the order confirmation and packaging while assessing the device; the purchase journey displays a 60-day money-back guarantee.
Clear answers
It is commonly beneath the dashboard on the driver’s side. Check the vehicle handbook for the exact position.
Switch the engine off, line up the connector and press it gently into a compatible OBD2 socket. Keep the footwell clear.
The product information gives a period of about 240 km. Compare several complete fills before and after that distance.
No. It is the displayed discount on the three-device pack. The one-device and two-device packs show 50% and 55%.
Divide miles driven by litres used, then multiply by 4.54609. Use complete fills and comparable routes.
The purchase journey shows a 60-day money-back guarantee. Keep the order confirmation and packaging.